

Fresh Walls, Fresh Start: Room-by-Room Spring Paint Prep Tips

From Living Rooms to Basements: How to Prep Your Surfaces for a Flawless Spring Finish
As the Wisconsin snow begins to melt and the days get longer, that familiar urge to refresh our homes finally kicks in. Spring is the ultimate season for interior painting, but a professional-looking finish isn't just about the color you choose—it's about the prep work you do before the first drop of paint hits the wall.
At Tuescher Painting & Drywall Finishing, we know that every room in your house has faced different "winter wear." From holiday scuffs in the hallway to moisture in the bathroom, here is your room-by-room guide to getting your home paint-ready.
The Living Room & Hallways: The "High Traffic" Check
These areas are the hubs of your home, and they usually bear the brunt of everyday life.
- The Prep: Inspect for "innie" and "outie" damage. Look for holes from door handles or scuffs from moving furniture.
- The Drywall Tip: For small nail holes, use a lightweight spackle. For larger dents, you’ll need to feather out the joint compound to ensure the patch disappears under the new paint. Don't forget to check your drywall corners for cracks that may have appeared as your home settled during the cold months.
The Kitchen: Degreasing is Key
Even if your kitchen looks clean, a fine layer of cooking grease can settle on the walls over time. Paint will not adhere properly to grease.
- The Prep: Wash the walls with a mild detergent or a TSP (trisodium phosphate) substitute. Focus on the areas around the stove and under the cabinets.
- The Pro Move: If you have stubborn stains from holiday cooking, use a stain-blocking primer to prevent them from "bleeding through" your new, light spring colors.
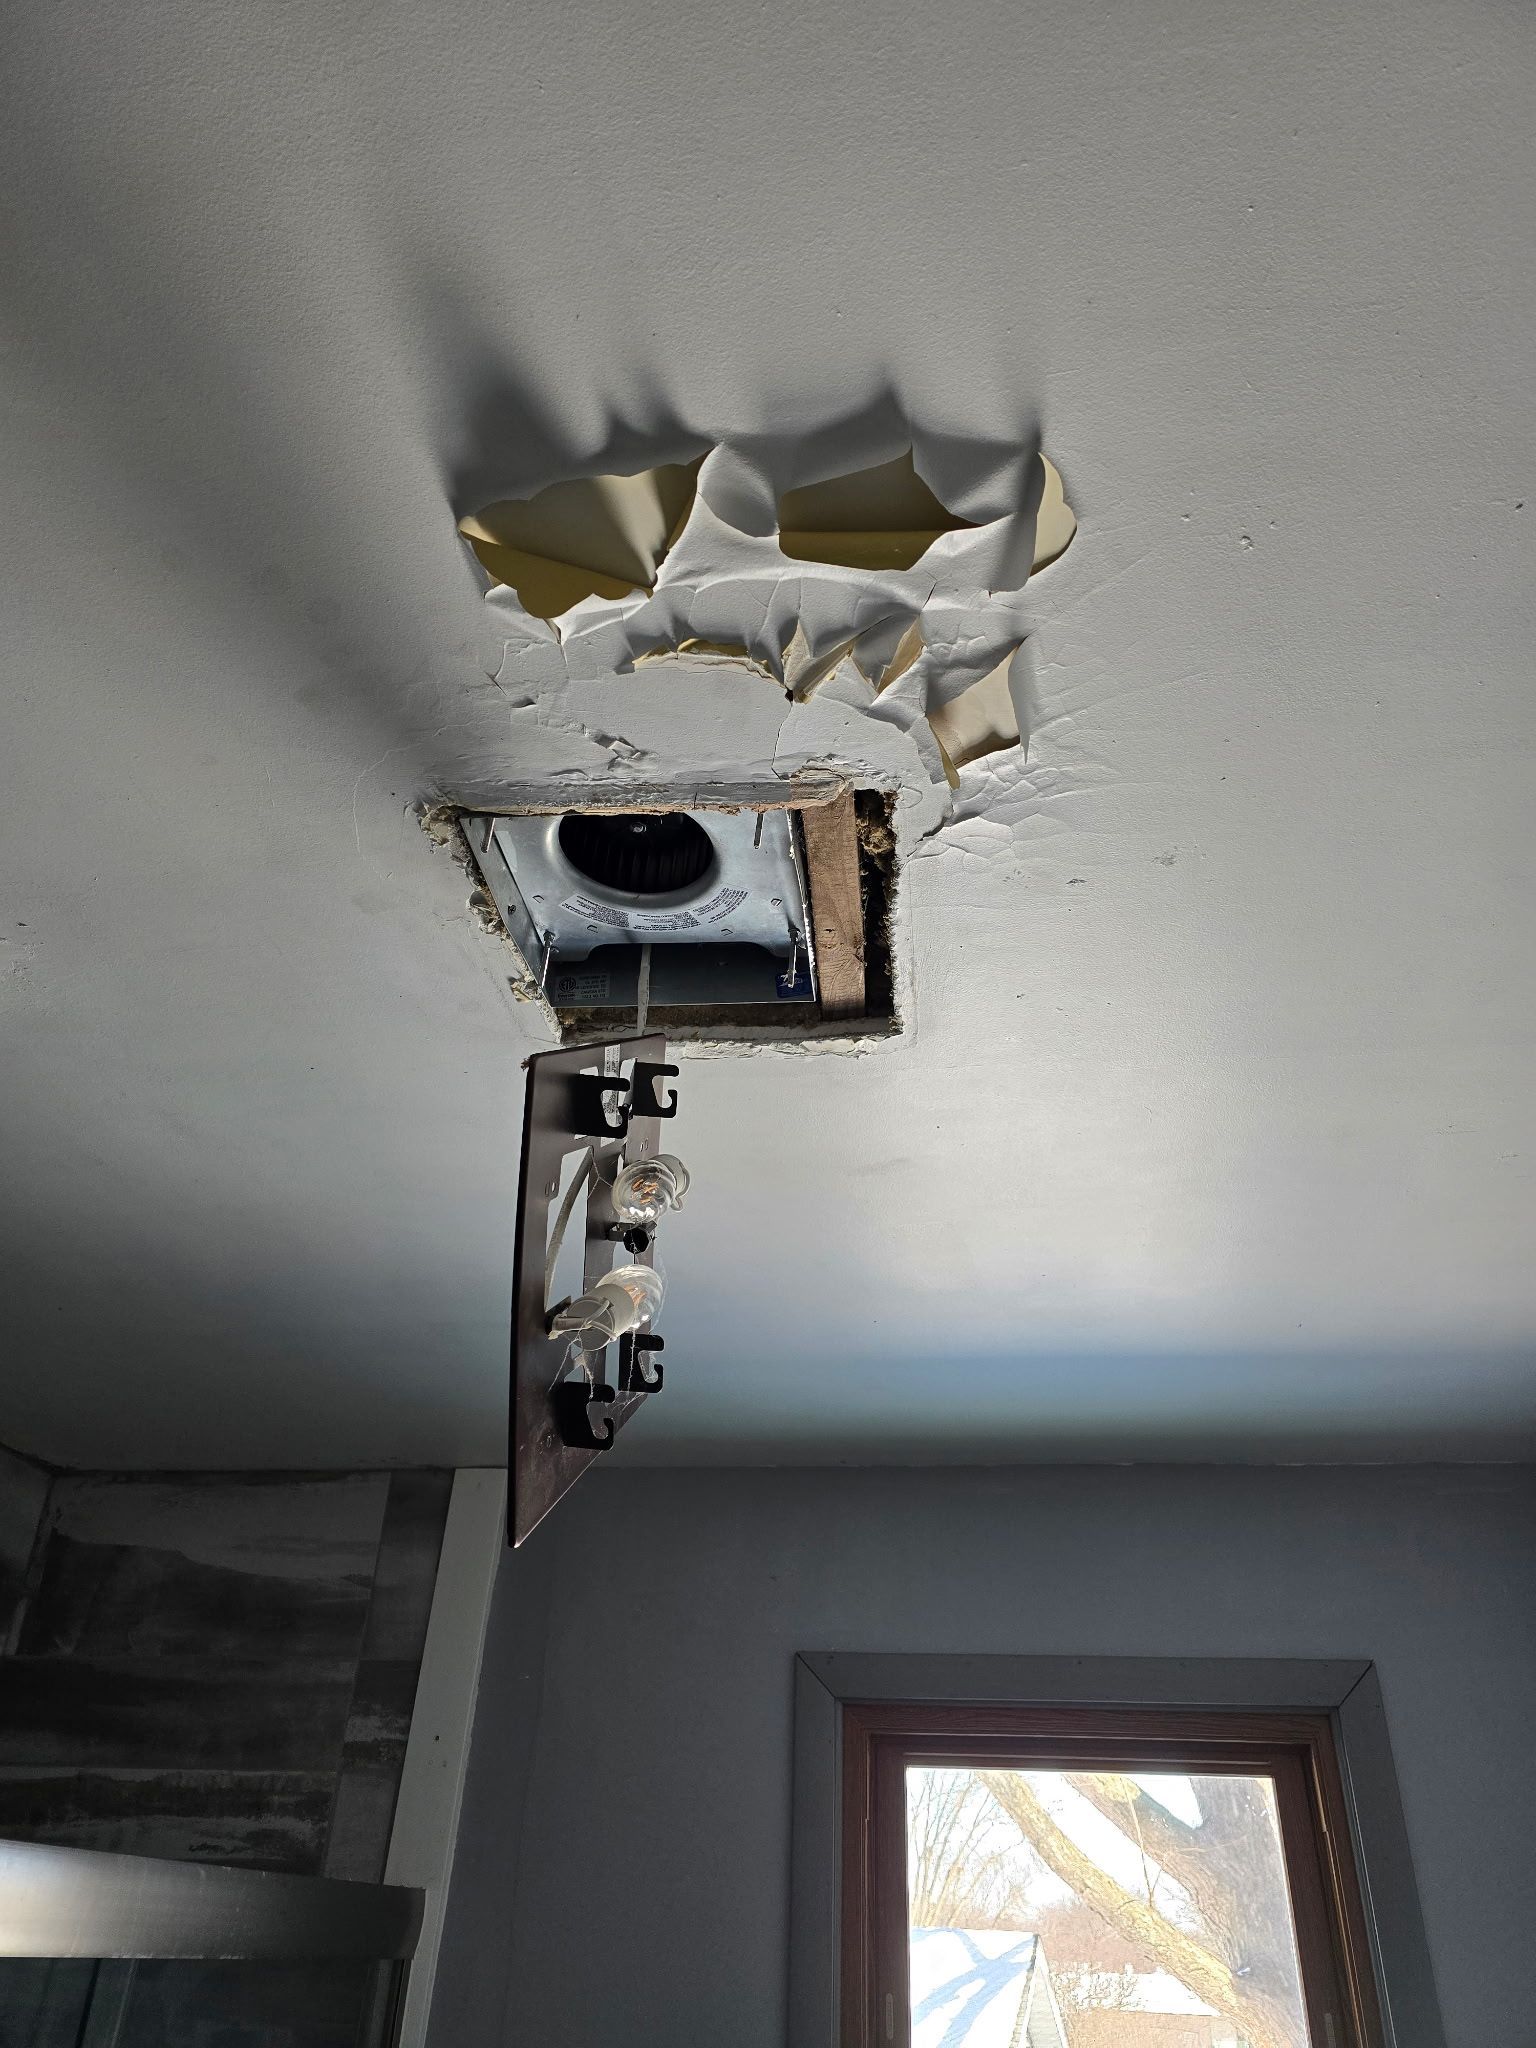
Bathrooms: Battling Humidity
Wisconsin winters mean the heat is on, but showers create localized humidity that can lead to peeling paint or mildew.
- The Prep: Check for bubbling paint or peeling drywall tape at the seams. If the tape is lifting, it needs to be cut out and replaced—simply painting over it will only make the problem worse.
- The Tip: Ensure all surfaces are bone-dry before you begin. We recommend waiting at least 24 hours after the last shower before starting your project.
Bedrooms: The "Silent" Settling
Bedrooms are often where we see the most "nail pops"—those small, circular bumps where a nail or screw has pulled slightly away from the stud due to seasonal wood expansion.
- The Prep: Reset the nail or add a new drywall screw nearby to secure the board, then patch and sand.
- Dust Control: If you’re doing a lot of sanding in a bedroom, use a vacuum-attached sander or high-quality drop cloths. Our team uses dust extraction technology to keep your sleeping areas clean and breathable.
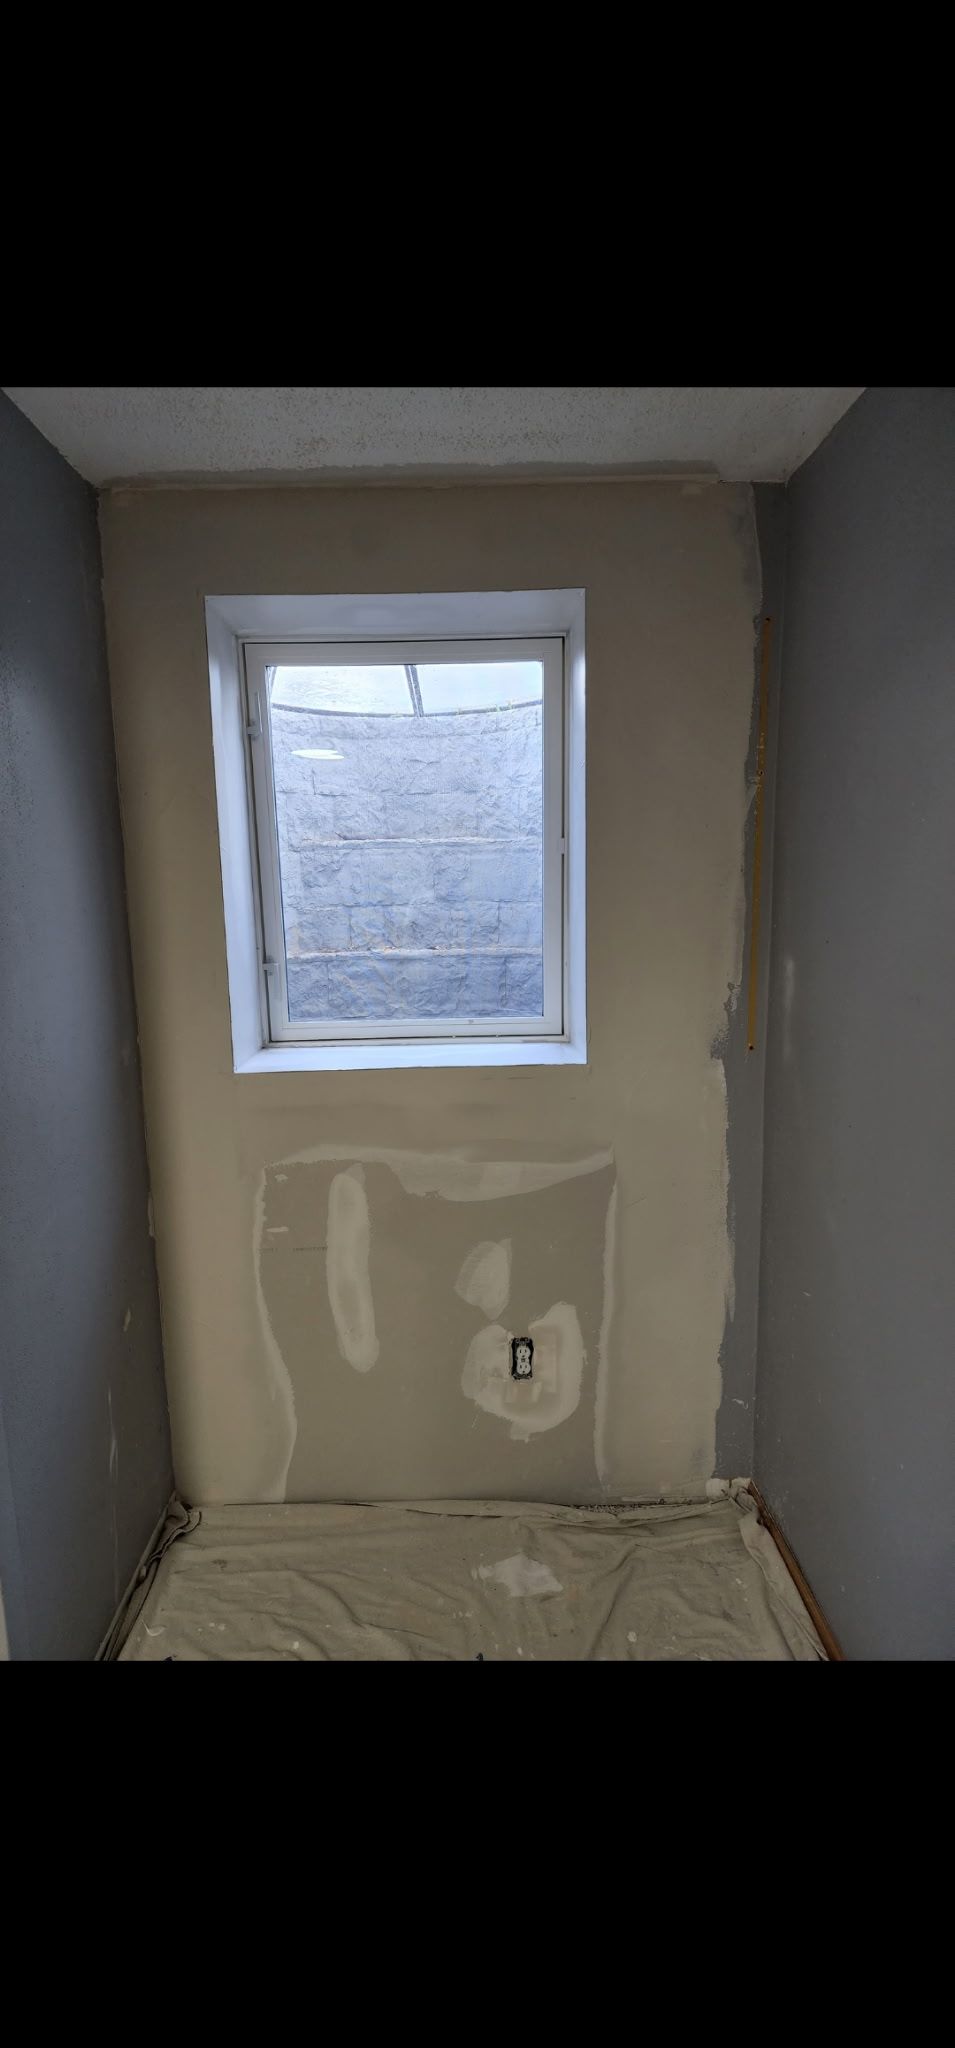
Basements & Utility Rooms: Moisture Watch
Before you decide to finish or refresh your basement this spring, check for signs of efflorescence (white, powdery salt deposits) or water stains on the drywall.
- The Prep: Address the source of any moisture before painting. If the drywall is soft or warped, it’s time for a full replacement rather than just a patch.
The Golden Rule: Never Skip the Primer
Once your repairs are sanded smooth, you must prime the patched areas. Patching compound is porous and will "drink" your paint differently than the rest of the wall, leading to dull spots known as "flashing." A dedicated primer ensures a uniform sheen across the entire room.
Ready for a Professional Touch?
If your spring to-do list is looking a bit overwhelming, let us handle the heavy lifting. With over 25 years of experience serving Janesville, Beloit, and the surrounding areas, Tuescher Painting & Drywall Finishing specializes in making those cracks, holes, and outdated textures disappear.
Call us at 608-290-4297 for a free estimate.